Cinema 4D&PS合成情人节海报
发表于2016-08-14

1、创建一个文字对象,在属性的文本区域添加上文字。(图01)
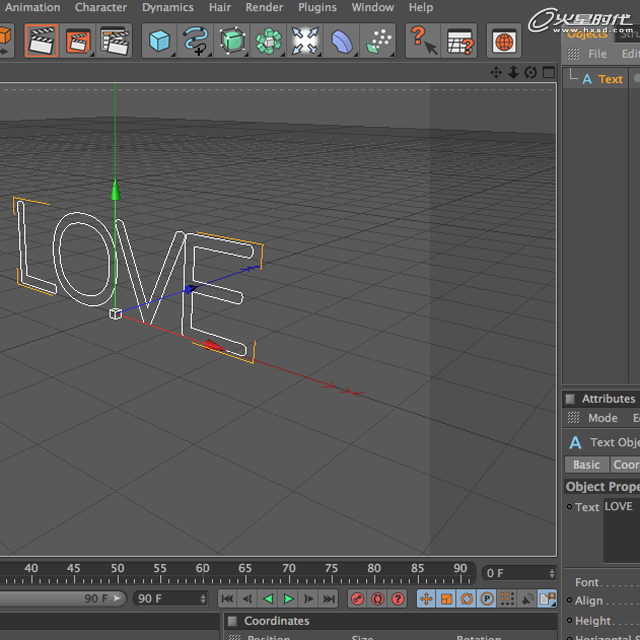

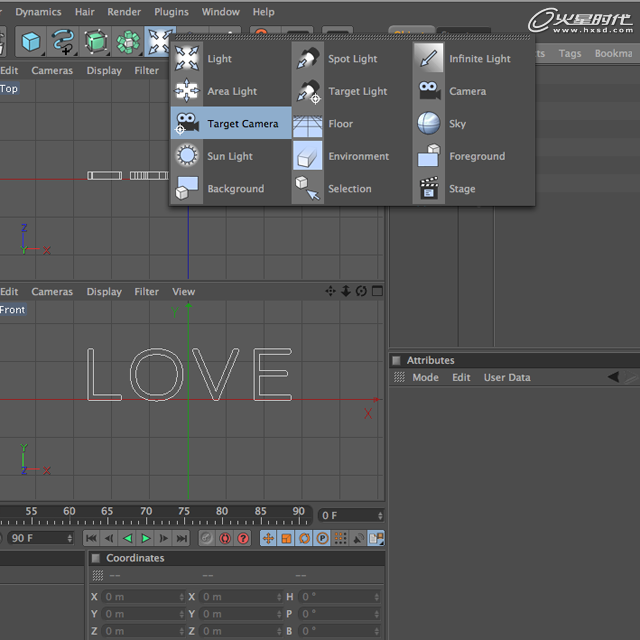
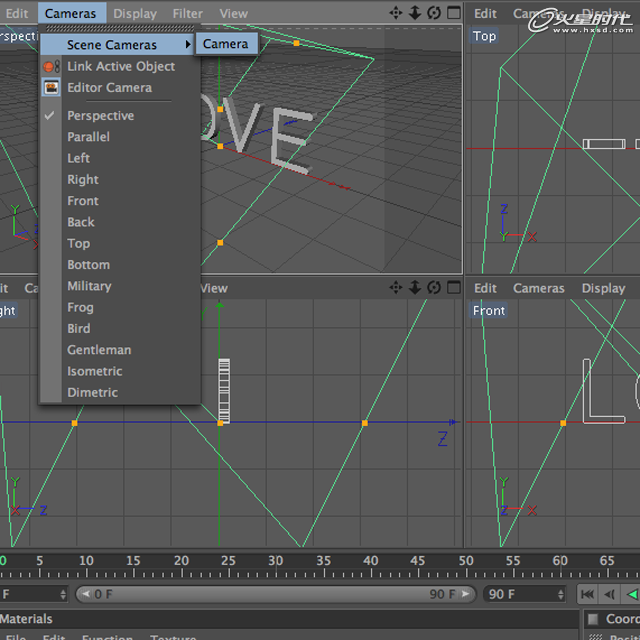
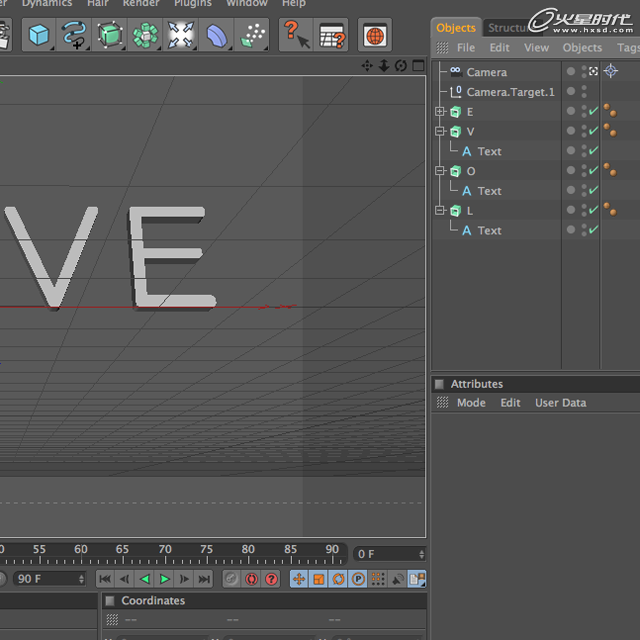

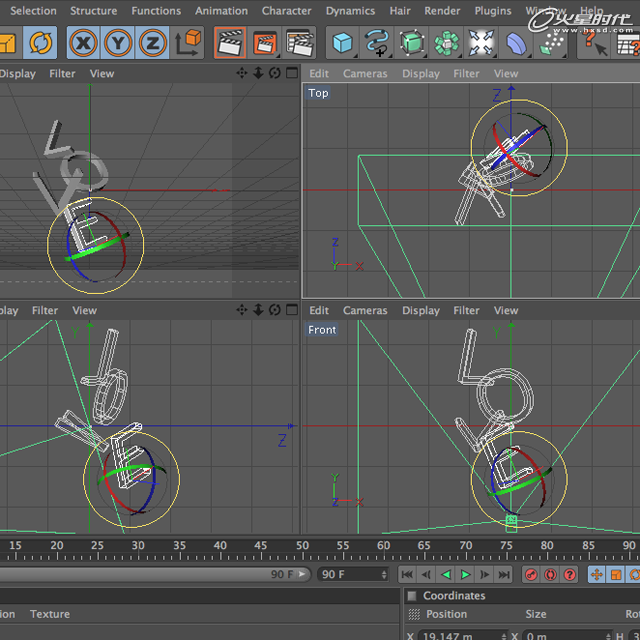
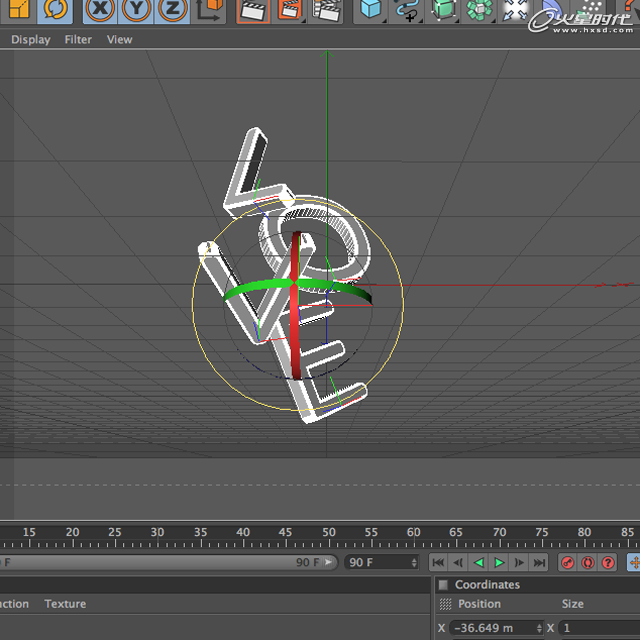
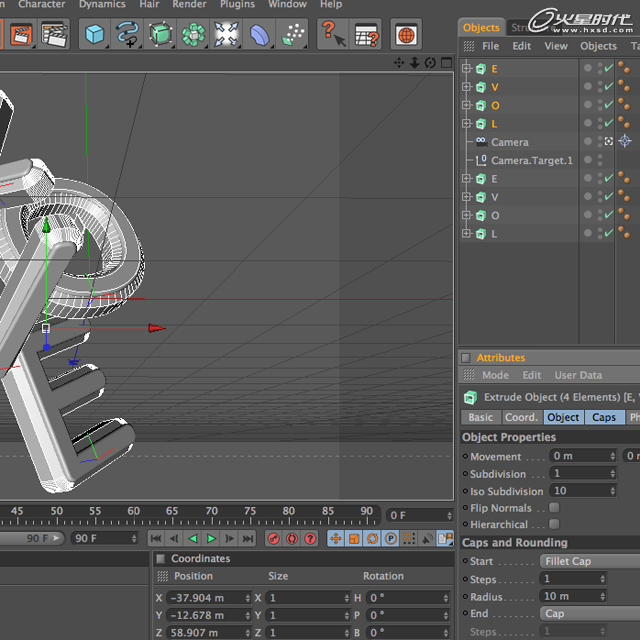

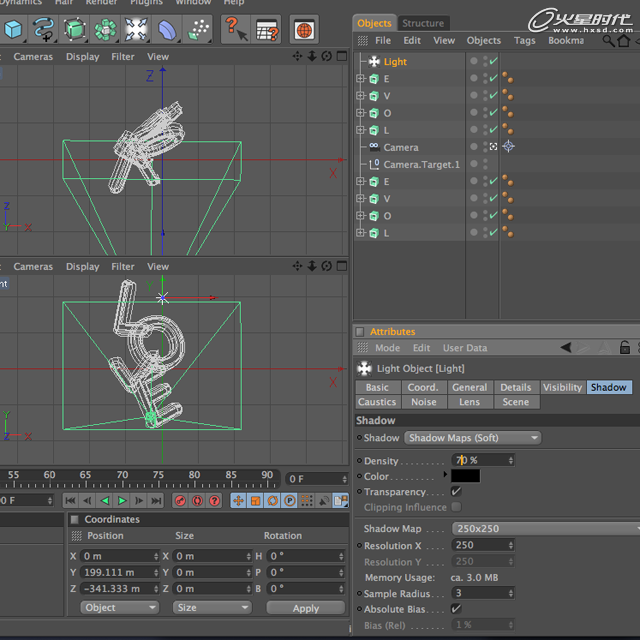
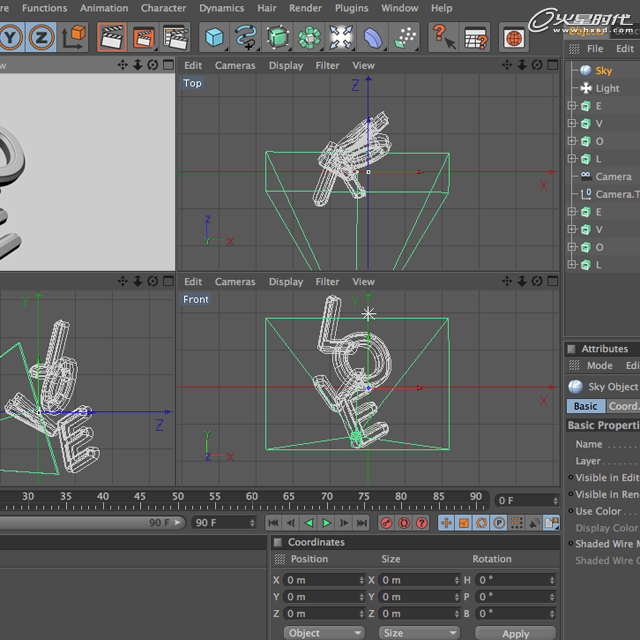
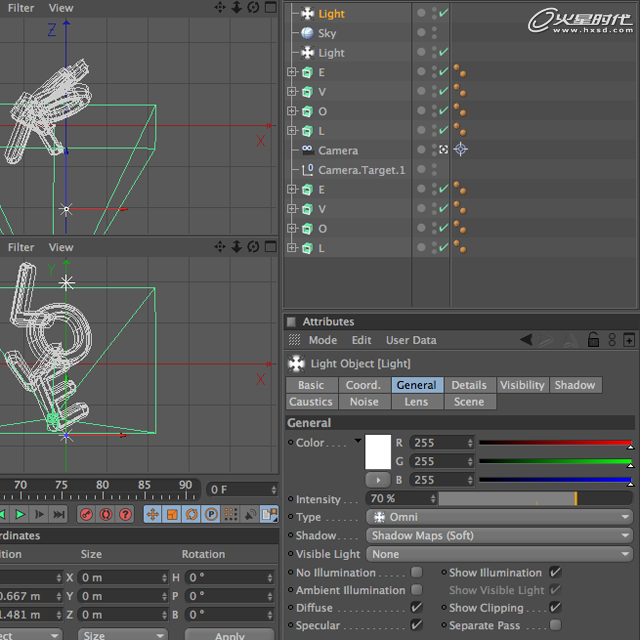

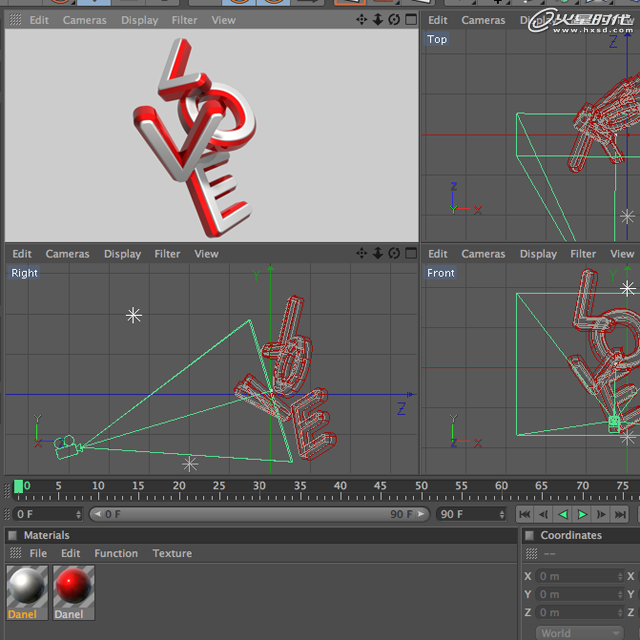
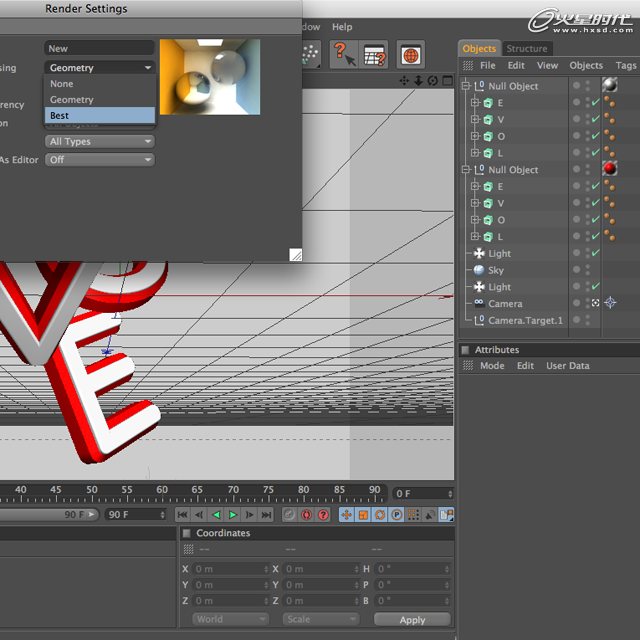

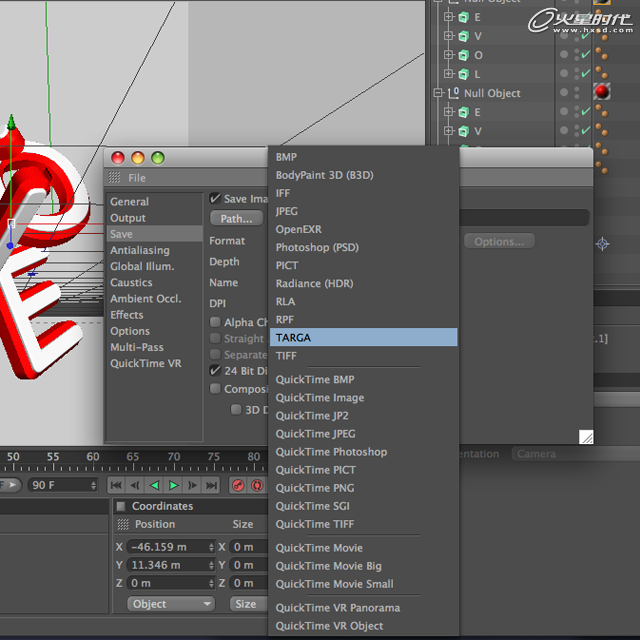
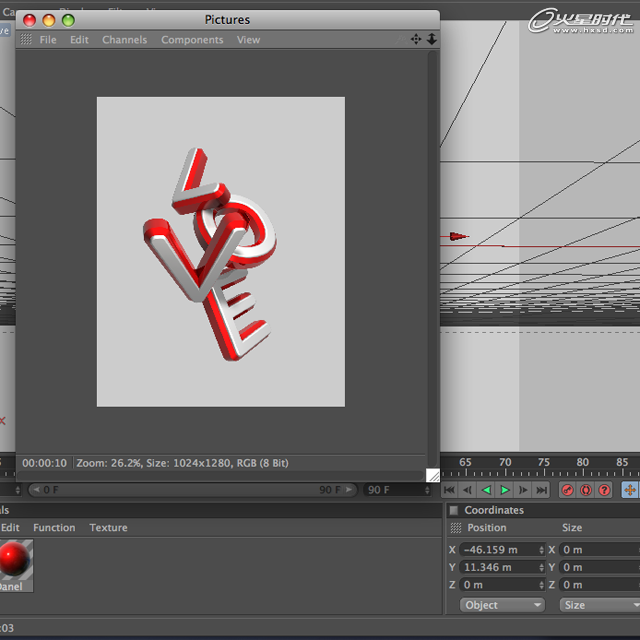
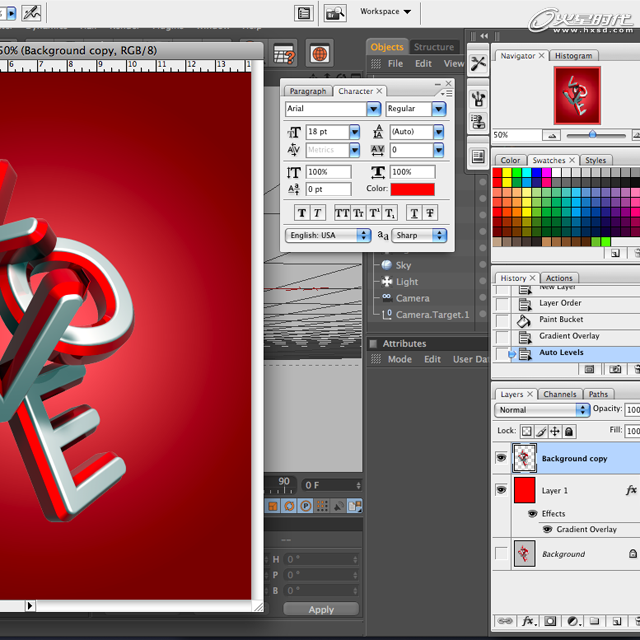
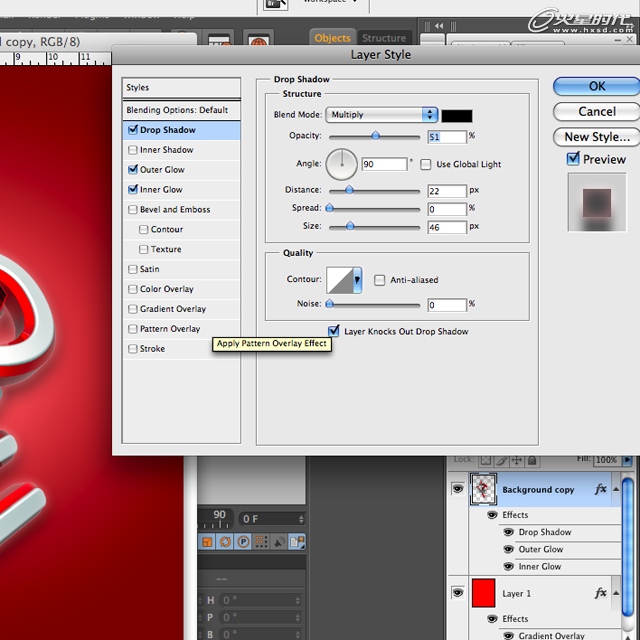

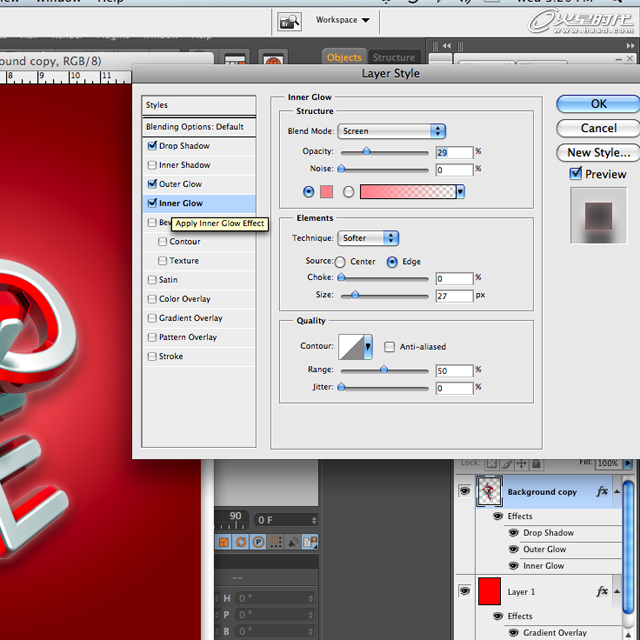

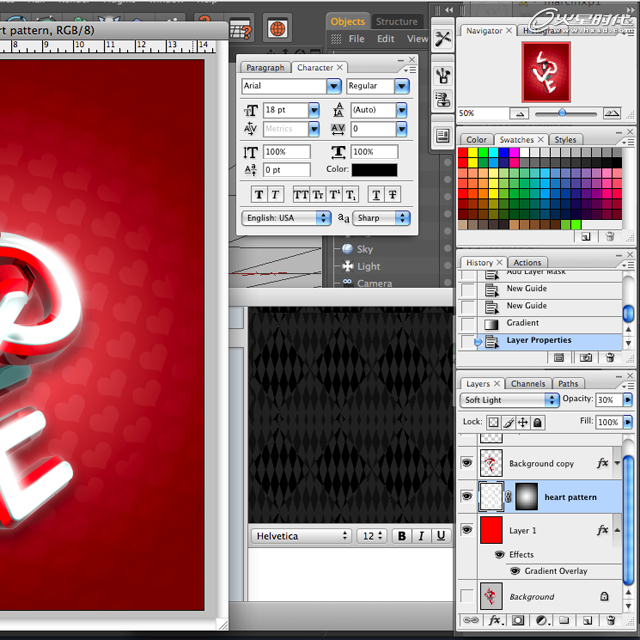
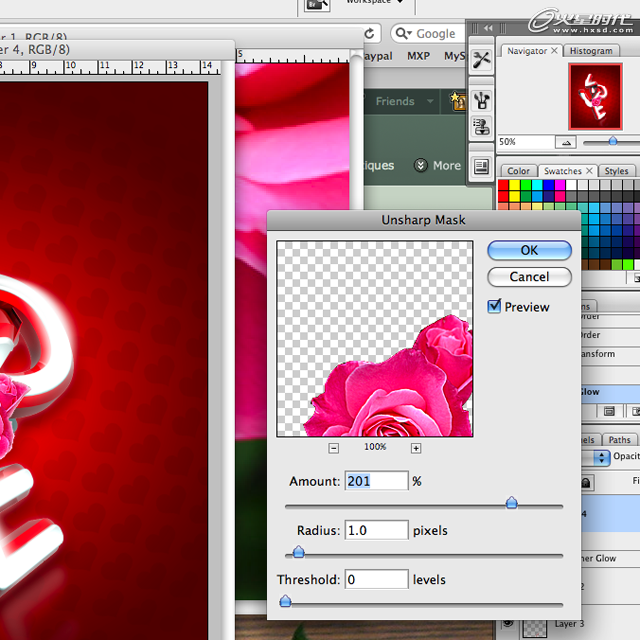
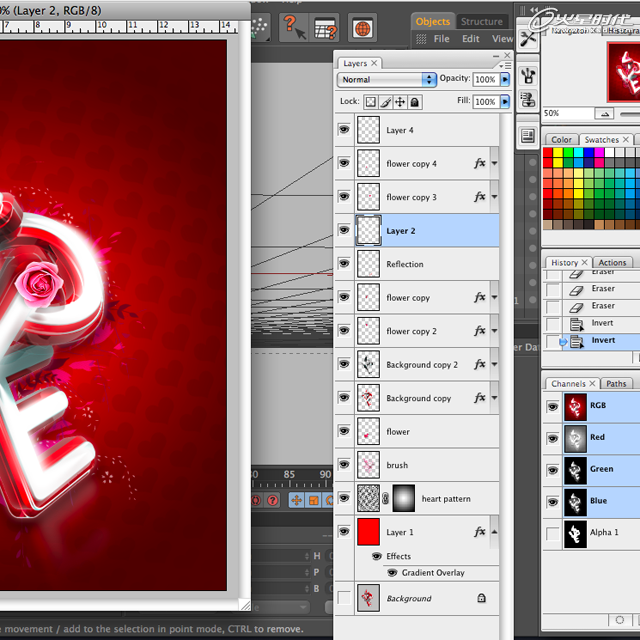
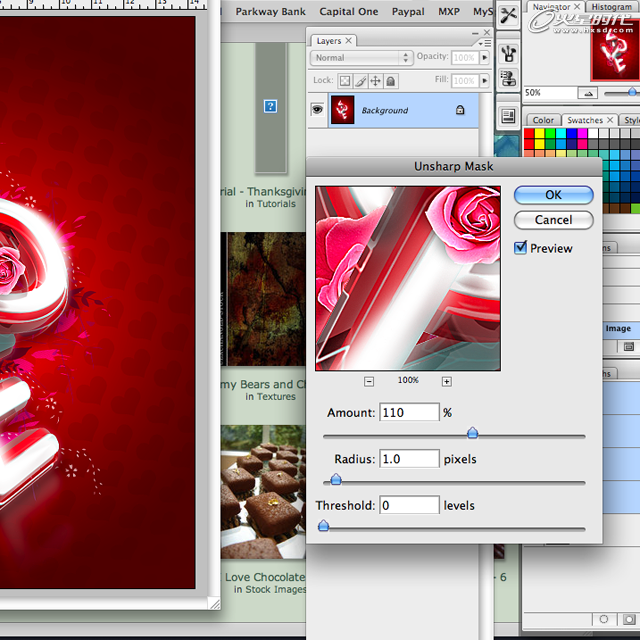
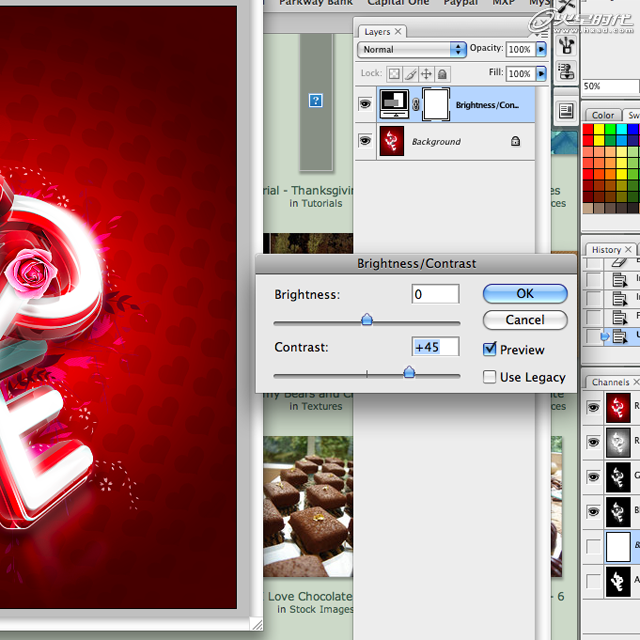

图01
2、逐一添加文字并使用Extrude Nurb挤压工具排放他们的位置。(由于文字需要单独改变角度,所以是打散的)(图02)
图02
3、创建一个目标摄像机可以帮助你组织场景。(图03)
图03
4、选择摄像机视图,Cameras-> Scene Cameras-> Camera。(图04)
图04
5.、创建空白对象,与摄像机的目标进行绑定,方便我们控制摄像机。(图05、06)
图05
图06
6、旋转文字对象,你喜欢的什么样的角度都可以。(图07)
图07
7、对文字对象挤压使用封顶,顶端圆角封顶、步骤1、半径2(这个半径可以自己把握)。(图08)
图08
8、复制文字,对复制后的对象改变封顶半径为10。你可以调整原文字使之凸显一部分出来。(图09)
图09
9、创建灯光对象。在Z轴方向进行移动,使用柔和阴影,深度70%。(图10、11)
图10
图11
10、觉得不够的话,增加一个天空光线。(图12、13)
图12
图13
11、在文字下边增加一个辅助灯光。(图14)
图14
12、使用默认金属材质,改变一下颜色就可以了。(图15)
图15
13、渲染设置,抗锯齿为最佳。(图16)
图16
14、页面大小1024*1280,保存为TARGA,记得勾上Alpha通道。(图17、18)
图17
图18
15、渲染出来的图片。(图19)
图19
16、导入Photoshop,使用Alpha通道选择出文字。增加渐变背景。(图20)
图20
17、在Photoshop中设置图层样式,阴影,外发光,内发光。(图21-23)
图21
图22
图23
18、选择软笔刷,20像素大小,使用钢笔,勾画文字部分边缘,记得选择模拟压力。制作光线效果。(图24、25)
图24
图25
19、选择一个玫瑰花图案对文字进行装饰,并使用树叶等素材对文字底部增加一些修饰。使用钢笔工具,对文字边缘制作光线效果。根据个人喜好,一条或多条都可以。(图26、27)
图26
图27
20、合并图层,对整个图层做一个USM锐化。(图28)
图28
21、亮度对比度的调整。(图29)
图29
22、完成。(图30)
图30